
Contents
Turn iSUP into a Kayak
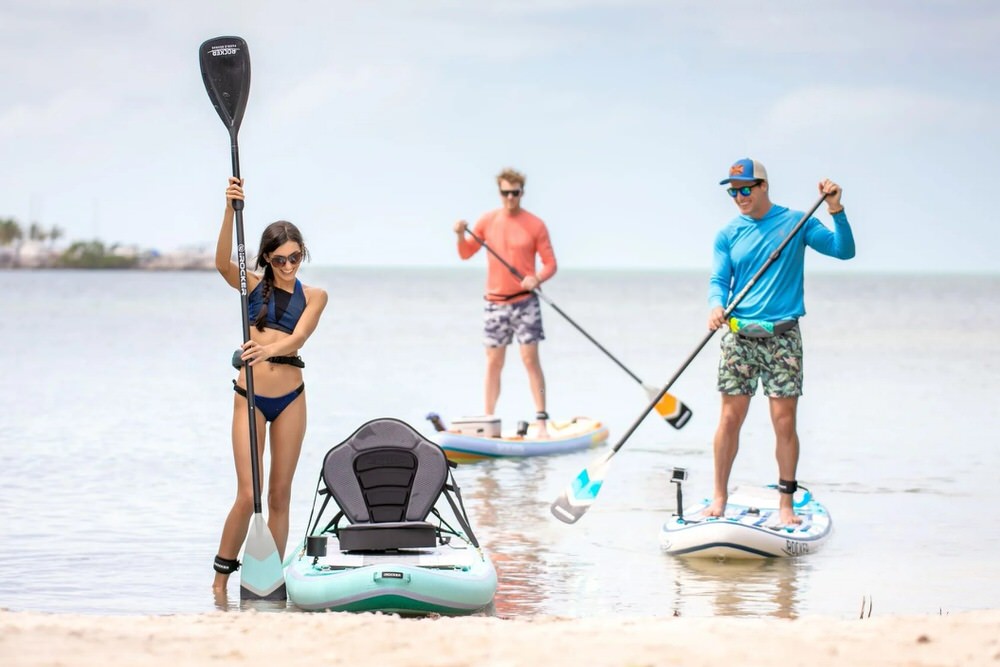
Our family, friends, and co-workers had enjoyed stand up paddle boarding late last year during the COVID-19 pandemic as an effective way to safely enjoy the outdoors while socially distancing. We had since tested and reviewed several inflatable stand up paddle boards (iSUPs), one of which was fully ready to be used as a kayak. To do so, one simply had to purchase a kayak seat and attach it to the iSUP’s 2 or 4 D-Rings. But what if your paddle board does not have the attachments available? Easy. Cement some D-Rings to your board. Here is how.
Tip: You can use this guide to also add a Bungee Deck to the front of your iSUP.
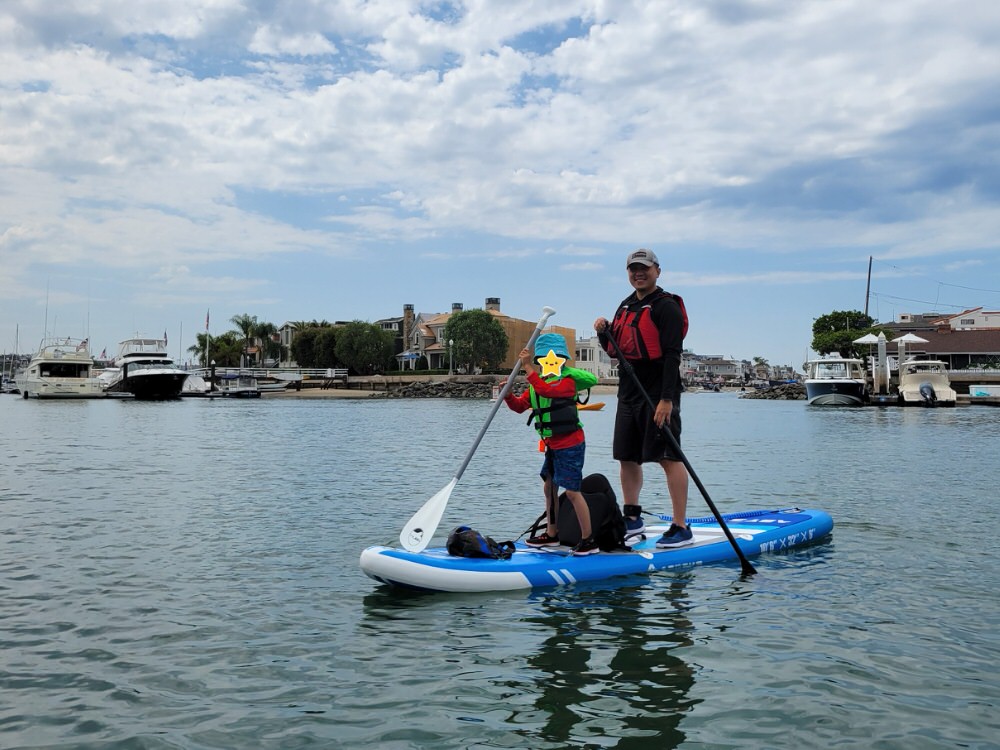
iSUPs and Kayak Converted iSUP /iRocker
What You Need
- D-Ring Patches: 2 or 4 per seat, depending on the number of straps provided by each seat
- I recommend 3.15″ (8cm) diameter ones like these: MonkeyJack, Tobwolf, Leipupa, and Jing Kun
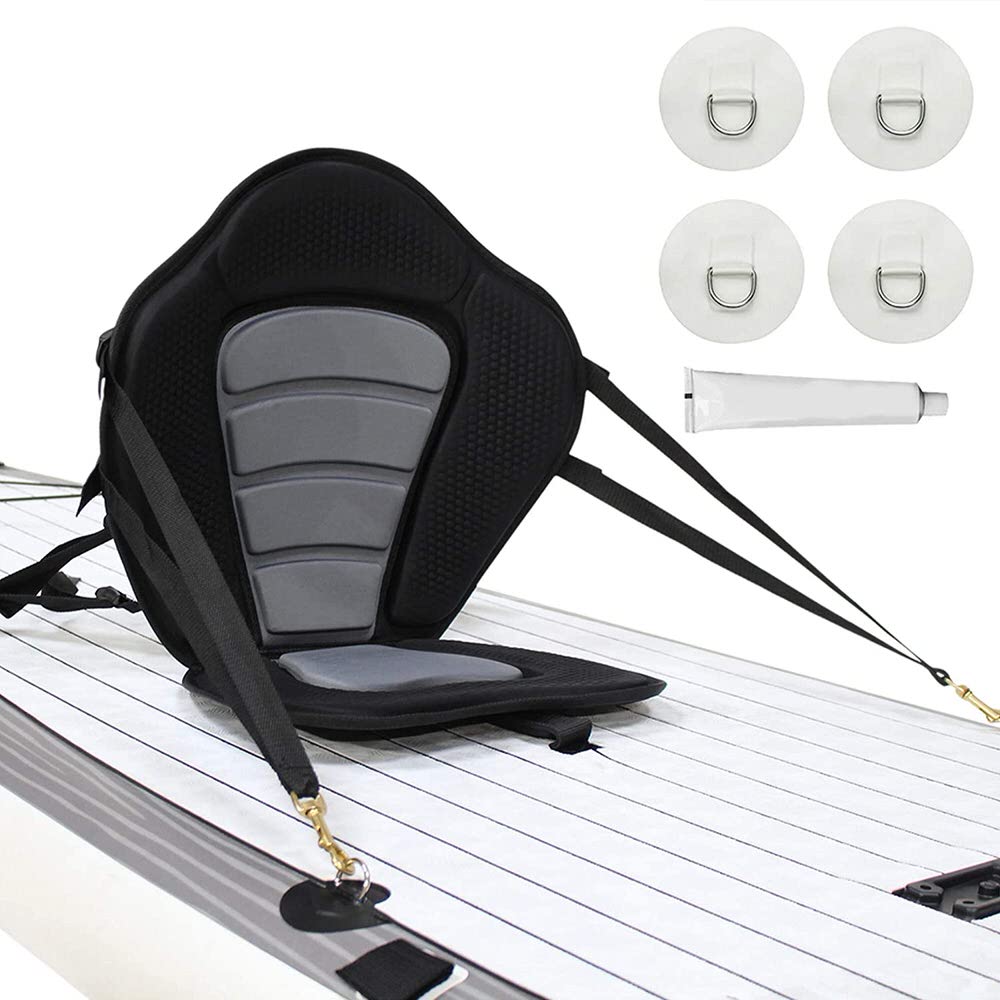
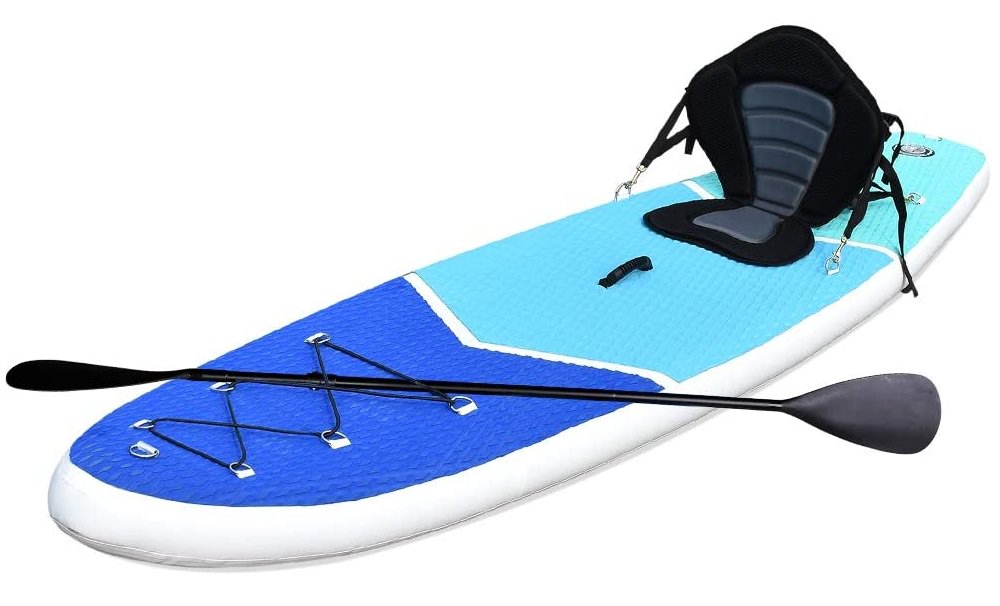
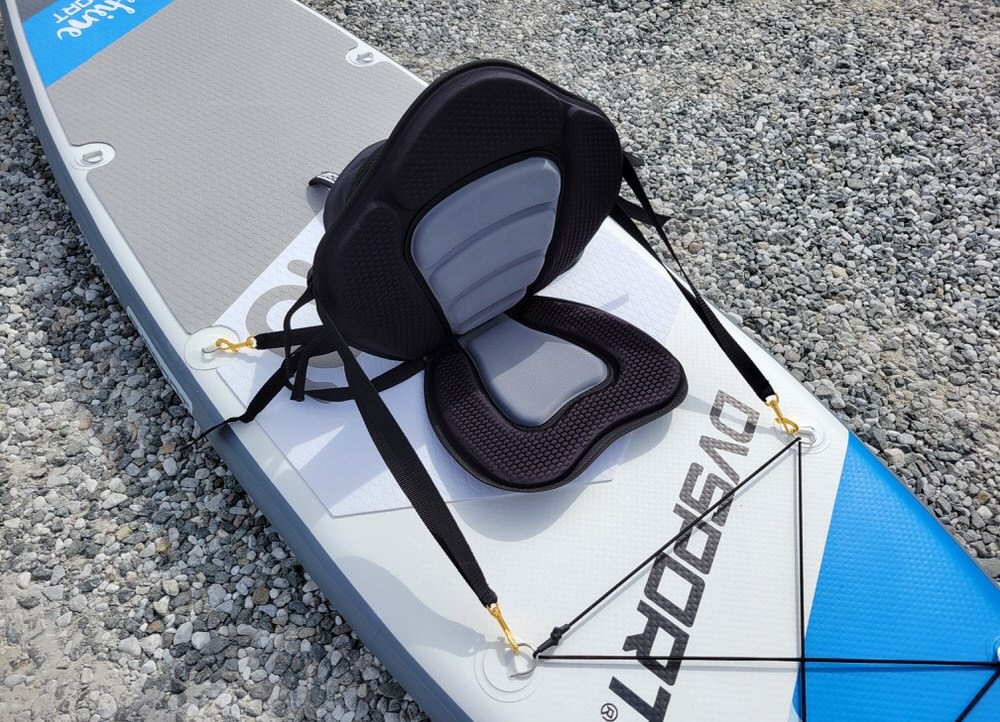
- Kayak Seat
- Molded, foam seats provide better comfort
- You can put 1 (single) or 2 (tandem) seats on an iSUP
- We bought the South Bay Board one that also included a storage bag
- It also comes as a kit, but the provided PVC glue was barely enough to securely attach 2 D-Ring patches. Get HH-66 instead
- Bungee Deck Kit (optional)
- If your iSUP is missing a bungee tie down, follow this same guide on how to add one to the front of your board
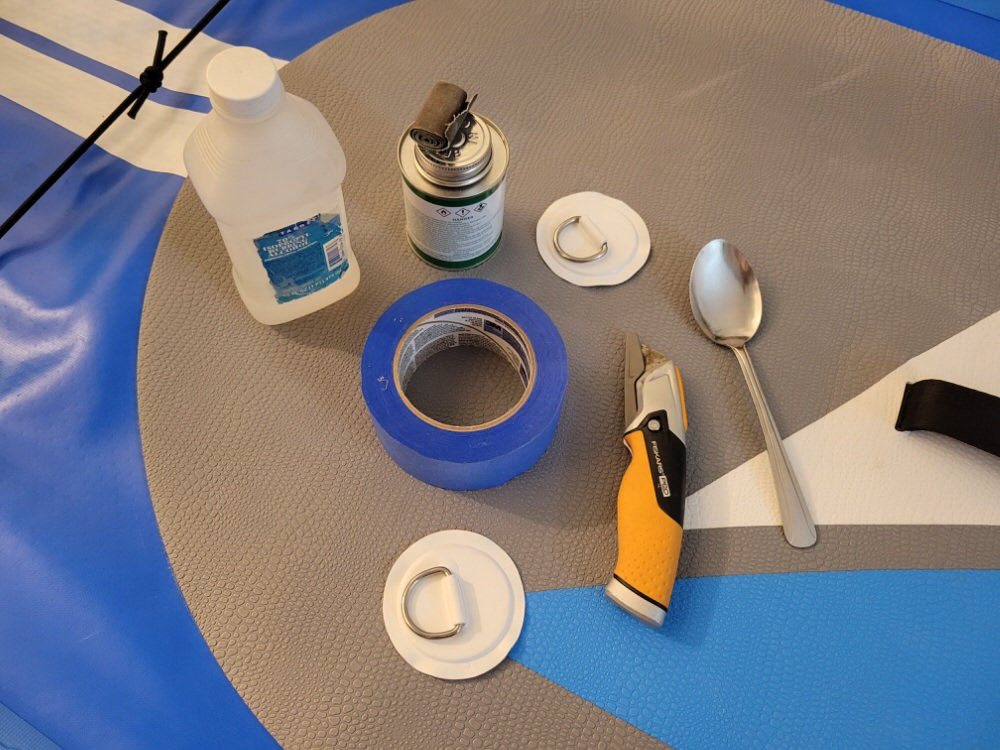
- HH-66 Vinyl Cement (preferred) or PVC glue
- Be SURE you have enough glue available, especially if you apply multiple layers!
- Pencil / Rubbing alcohol or acetone
- Painter’s tape
- Optional: Utility knife / Sand paper / Spoon
Determine D-Ring Placements
If you do NOT have D-Rings already on the board for attaching the seat(s), you will have to determine where to put them.
- Single seat: Have 2 in front of and 2 behind the board’s center carry handle, but do not let the seat cover it entirely
- The 2 rear ones should be directly below where your shoulders would be while sitting up
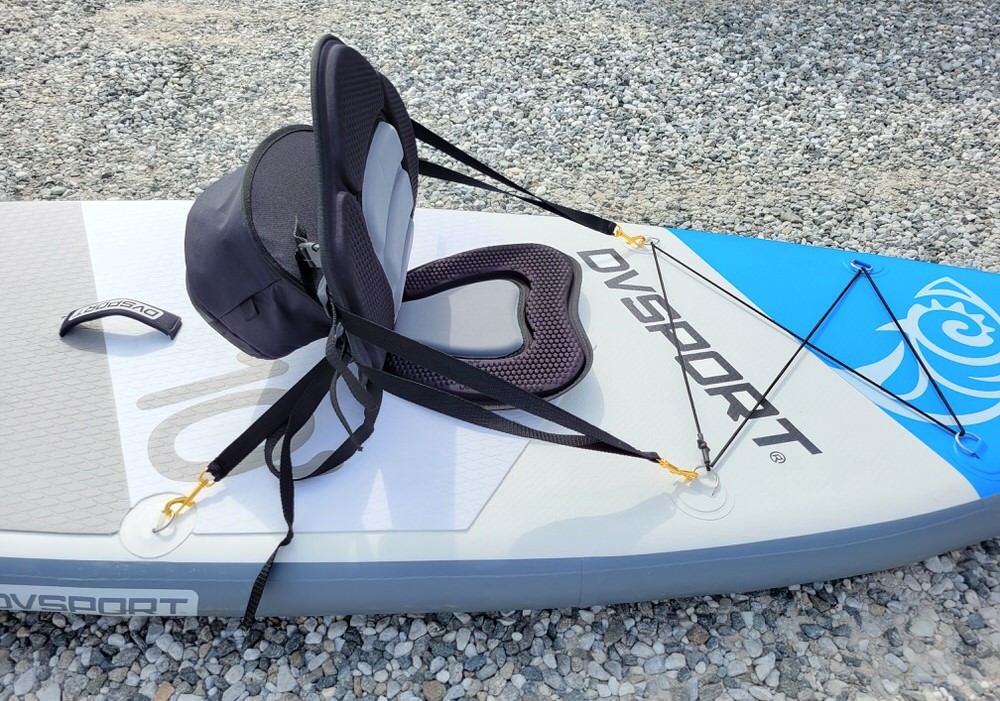
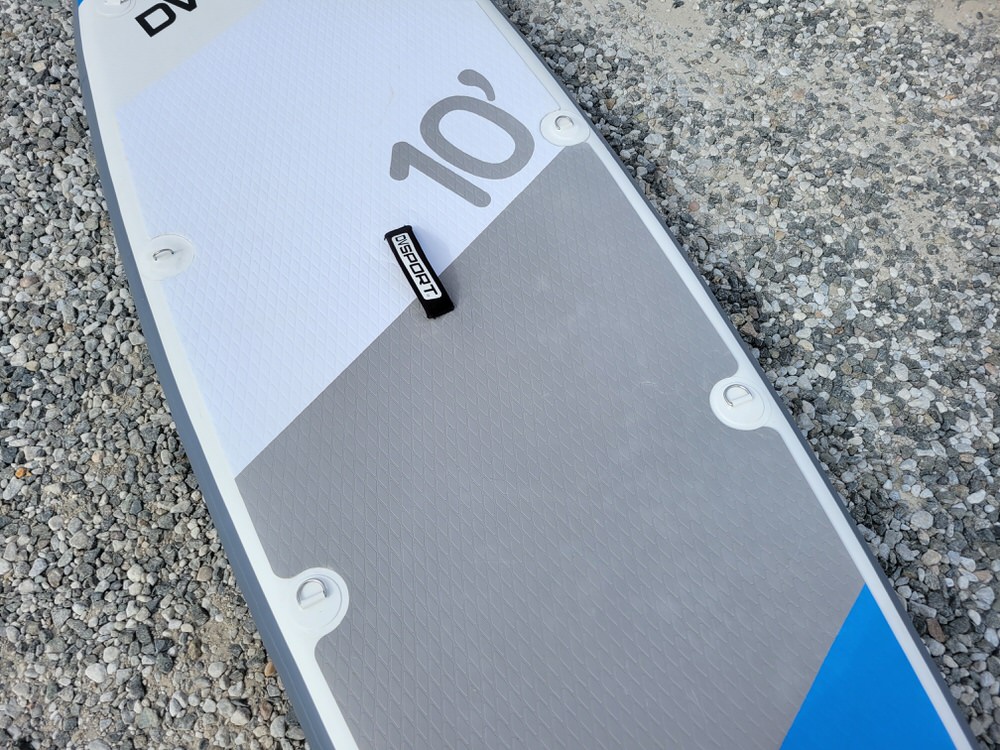
- Runwave Kohala and DvSport Sunshine iSUPs were already configured for a center seat, but you could easily attach 2 D-Rings at the back to turn them into a tandem kayak
- Double seat (tandem): Space 8 D-Rings evenly for weight distribution
- 4 rings in front of and 4 behind the board’s center carry handle
- 2 should be directly below where your shoulders would be while sitting up
- You can still use the iSUP with a single seat by sitting at the center or back
- 4 rings in front of and 4 behind the board’s center carry handle
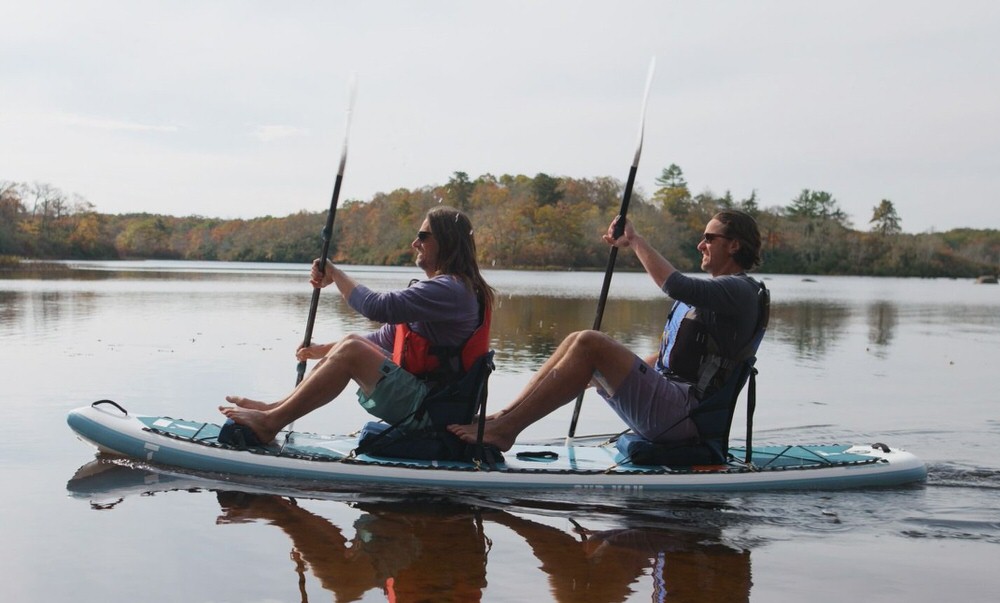
Tandem Kayak Seats /Tahe
How To Attach D-Rings
Ideally, you will want to place the D-Rings directly onto the vinyl part of the inflatable board for the strongest bond. I watched someone filming herself attaching the rings onto the board’s deck pad, but be warned: doing so is not secure as the padding could come loose and drop your precious cooler down the ocean.
I had found that 3.15″ (8cm) diameter D-Ring patches are a good size. Larger ones like 4.3″ or 4.5″ would usually be too big to attach onto the side of the board if a deck pad is in the way.
Let’s go over the general steps of gluing D-Rings first. We will then go over how I removed part of my DvSport Sunshine iSUP’s deck pad to more securely attach the rings.
General Installation Steps
For more step-by-step pictures, see the “Deck Pad Removal” section (below) after reading through these general steps first.
- Unroll the deflated iSUP
- Some recommend to fully inflate the board, but I prefer it to be flat so the D-Ring patches can be weighed down easier (especially if they taper onto the side)
- Ensure board is clean and dry
- Determine where to place the D-Rings
- It is best to put them onto the vinyl part (not the deck pad) of the iSUP near the top. It is okay for the patches to slightly go over to the side
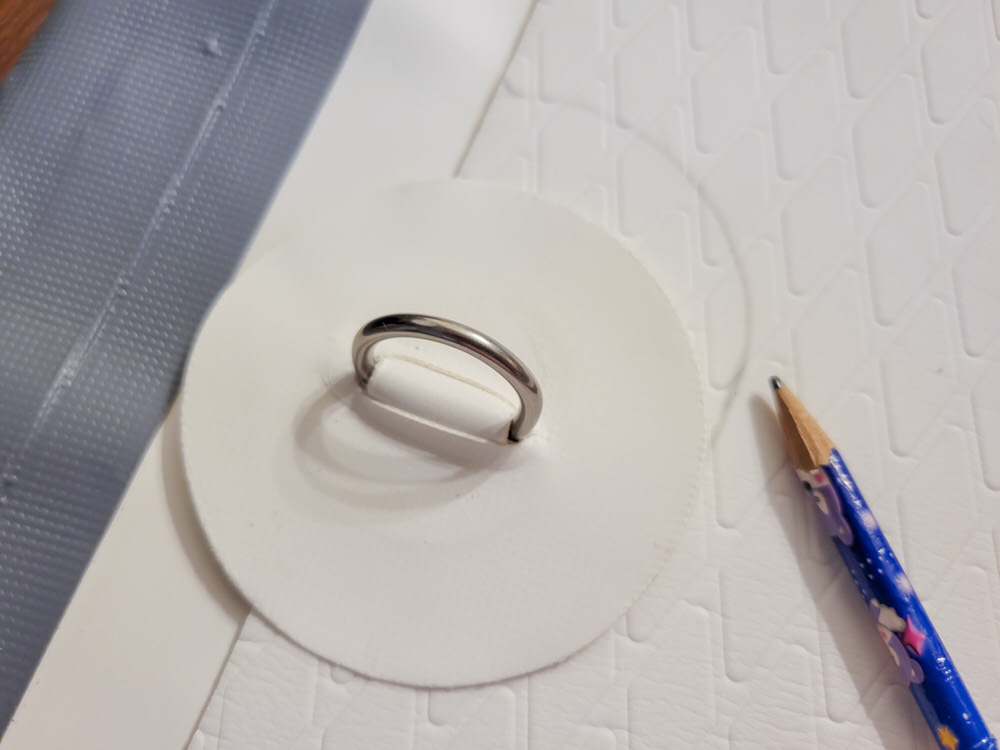
- Circle the outline of the D-Ring patches with a pencil onto the chosen locations
- Optional: Lightly roughen up the board with sand paper where the D-Rings will be placed. Do that to the patches too
- Clean the patches and the board with rubbing alcohol or acetone, ensuring no debris is left behind

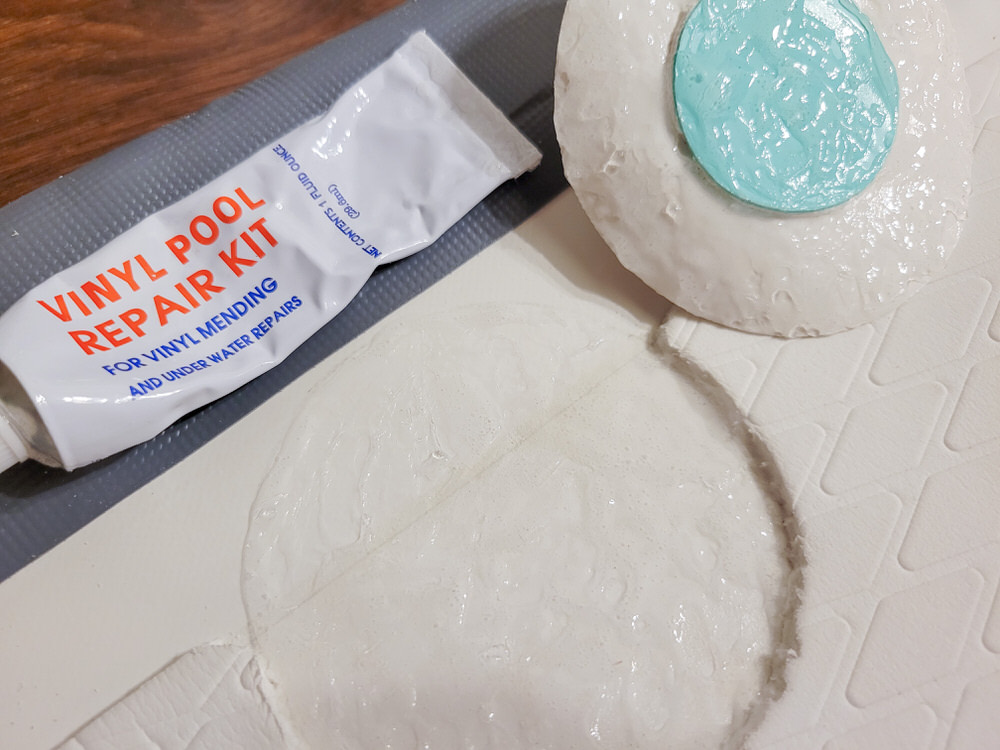
Vinyl glue layering. Before you start, be SURE you have enough glue available for completion!
- Brush a thin, even layer of HH-66 vinyl cement (preferred) or PVC glue onto the board within the D-Ring’s marked outline
- Brush another thin layer of glue onto the D-Ring patch
- Be sure to spread the glue over the entire, outlined area so not to miss a spot
- Let sit for 1 minute until glue feels tacky
- Apply a 2nd thin layer of glue onto both the board and the patch. Let sit for 3-5 mins
- Add a 3rd layer of glue onto the board and patch and wait 30 seconds
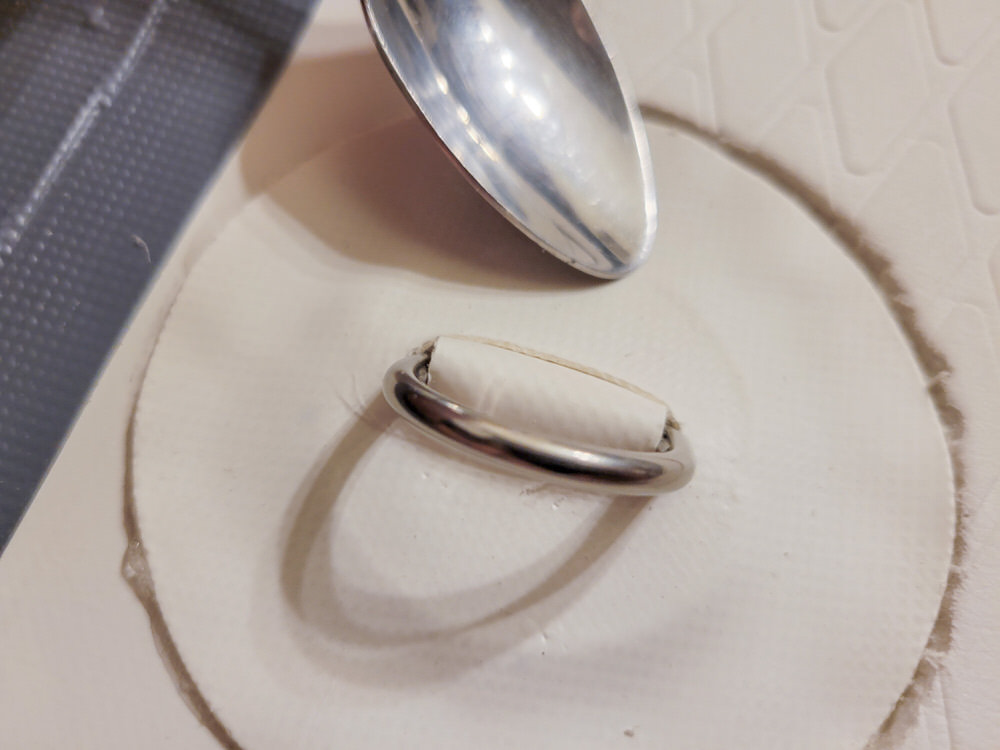
- Once the glue is gummy, firmly press the D-Ring onto the board
- Smoothe out any air bubbles or humps with the back of a spoon
- Clean any excess glue
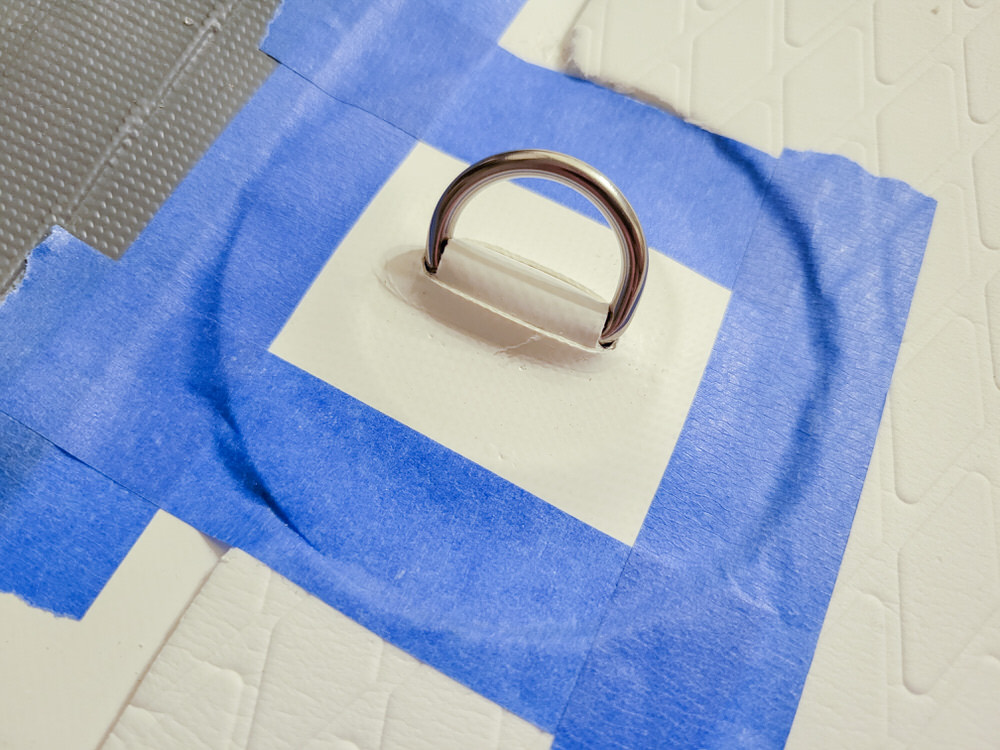
- Use painter’s tape to hold down the patch, especially the edges
- Do not use strong adhesives like duct or electrical tape
- Weigh down the patch or clamp it down
- Let dry for 24-48 hours before inflating the iSUP. The closer towards the 48 hours, the better
Deck Pad Removal For Stronger Bond
For a more secure bond between the D-Ring patches and the iSUP, I partially removed the deck pad of my DvSport Sunshine iSUP.
Warning: Be extremely cautious of how deep you cut with the utility knife! Puncturing the iSUP will not be the end of day as that can be repaired, but take great care!
- Outlined the D-Ring patches with a pencil onto the chosen locations
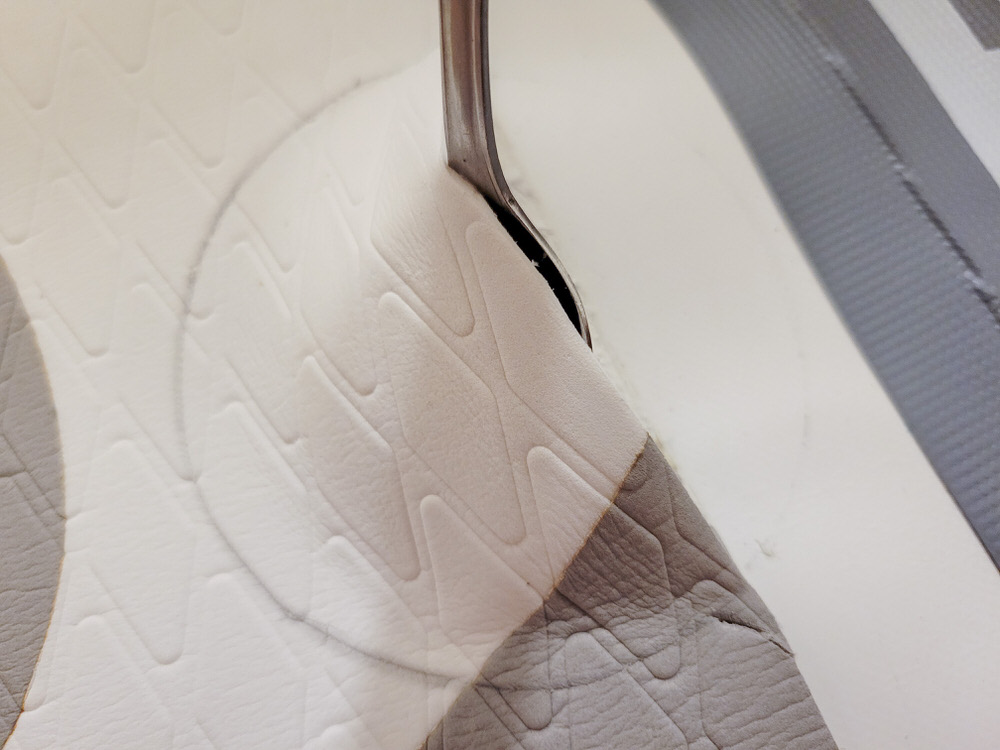
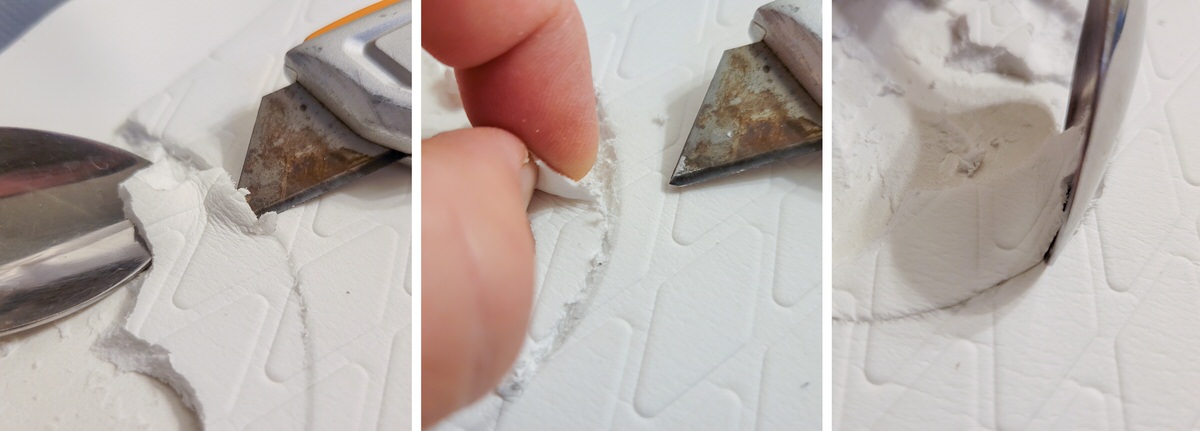
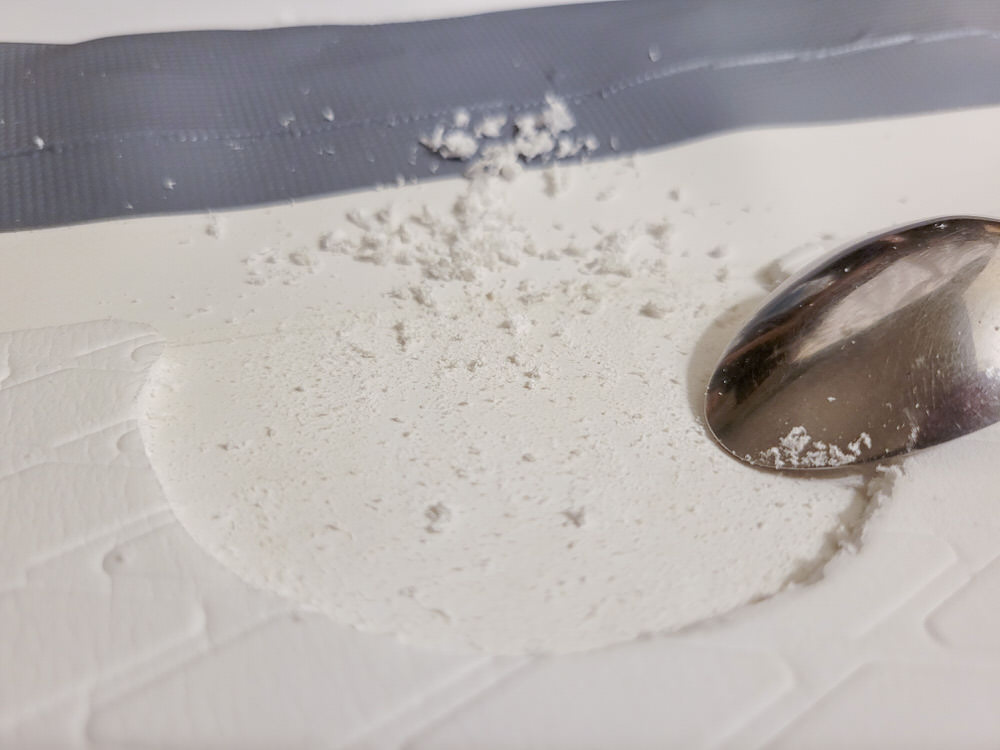
- Carefully and lightly scored the deck pad part of the outline with a utility knife. Took great care not to puncture the deck
- Tip: If the cut is not deep enough, lightly score some more. Repeat until you have reached the desired depth and clean up the remainder with a spoon
- Carefully and lightly scored the deck pad part of the outline with a utility knife. Took great care not to puncture the deck
- Lifted the deck pad with a spoon and carefully detached the part to be removed
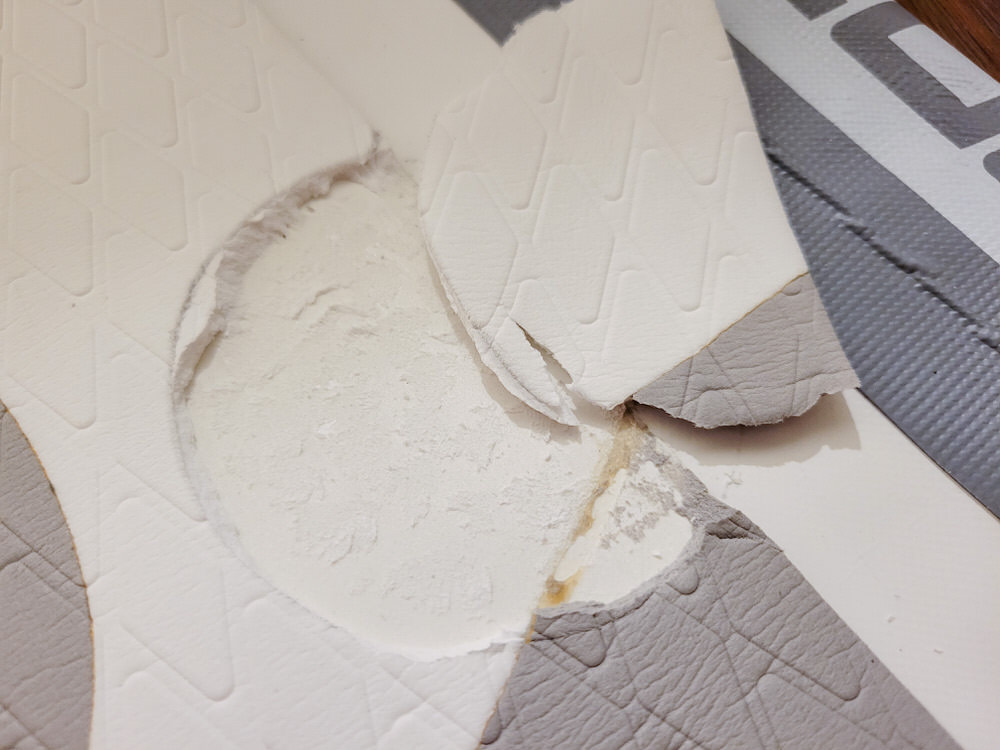
- If any part of the pad still needed to be trimmed, I used the spoon to scrape out the last bits and/or augmented it with the utility knife
Deck pad removal methods
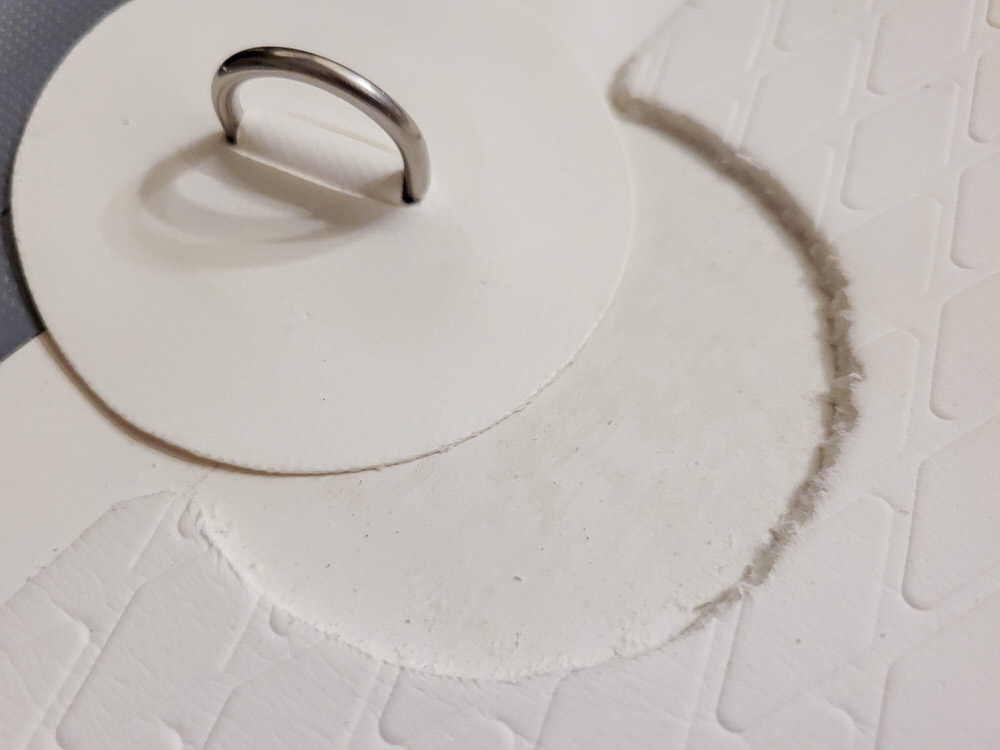
- Leftover pad bits were scraped away with the spoon until the deck was fairly smooth
- Note in the next photo the carved, rounded “corners” along the edge of the pad. Sharp corners are more likely to snag than rounded ones
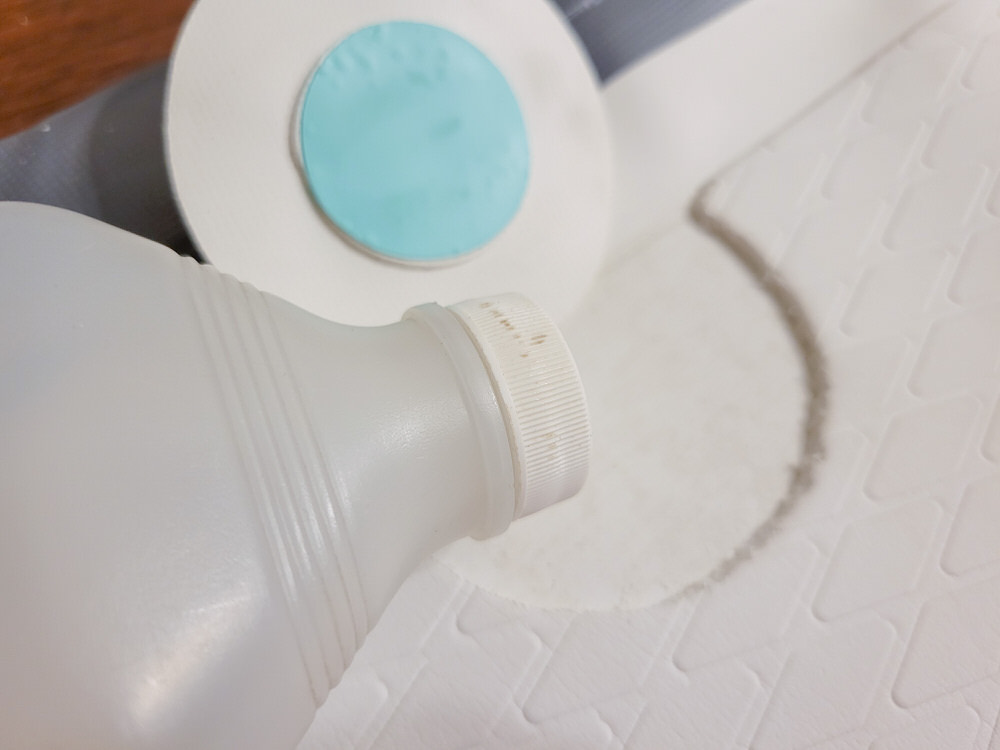
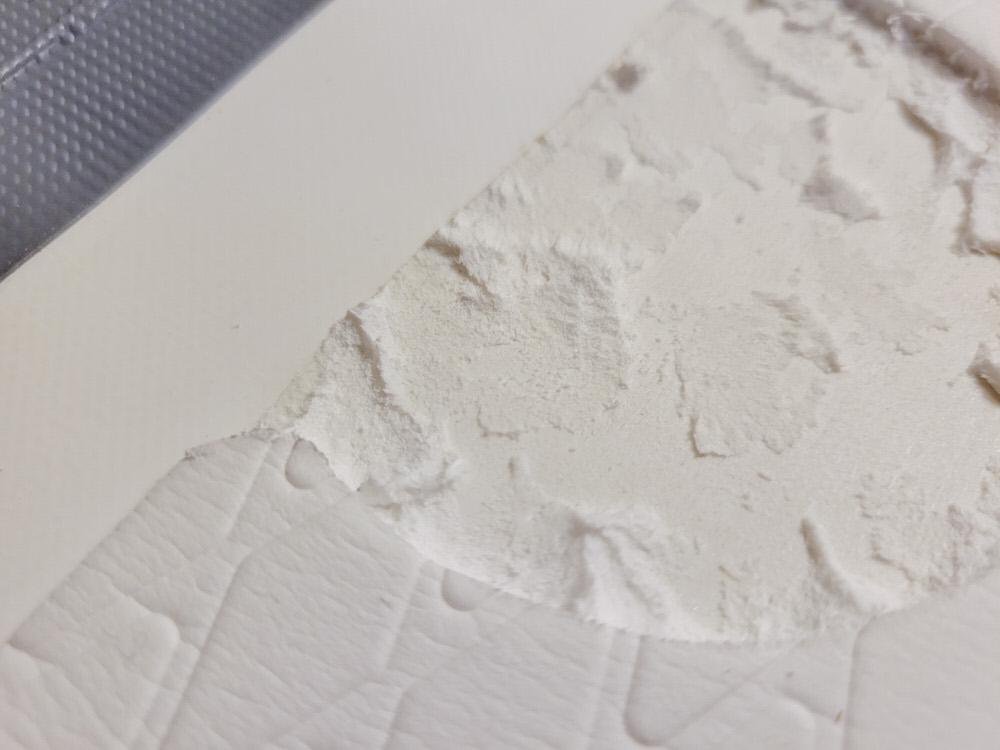
- After cleaning the deck and patch with rubbing alcohol, both were lightly sanded to provide some extra grip for the glue to bond onto. Cleaned the surface again with rubbing alcohol
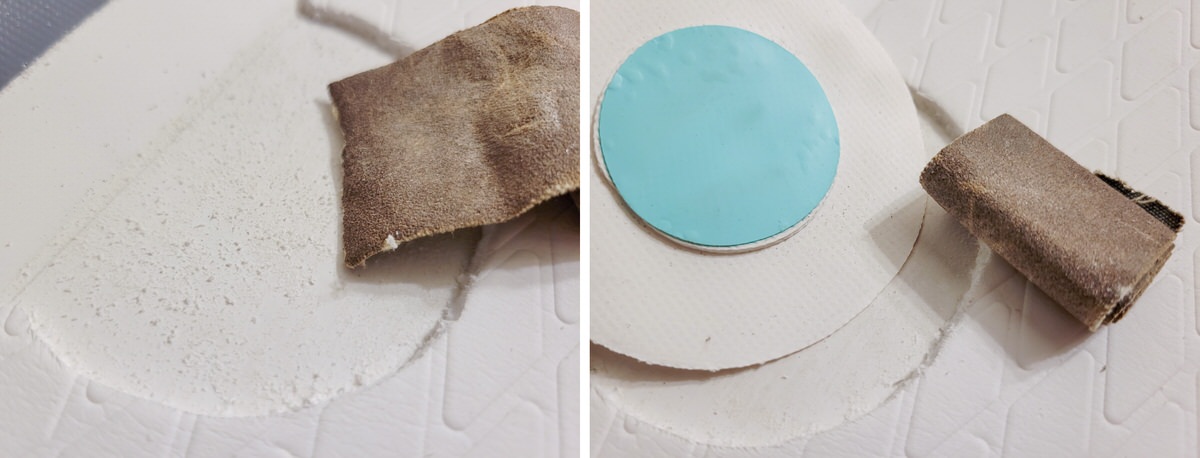
Deck and patch sanding
- Applied three (3) thin layers of HH-66 vinyl cement or PVC glue onto both the board and the D-Ring patch
- Layer 1 was left sitting for 1 minute until glue felt tacky
- Layer 2 was left for 3-5 mins
- Layer 3 was left for 30 seconds
Vinyl glue layering. Before you start, be SURE you have enough glue available for completion!
- Once the final layer was gummy, the D-Ring patch was firmly pressed onto the deck and air bubbles smoothed out with the back of a spoon
- Excess glue was cleaned, and painter’s tape was placed over the patch to secure in place. Ensured the patches’ edges were held down
- Finally, the patches were weighed or clamped down with heavy books, then left to dry for 24-48 hours
Weighing down drying patch
D-Rings Attached: End Result
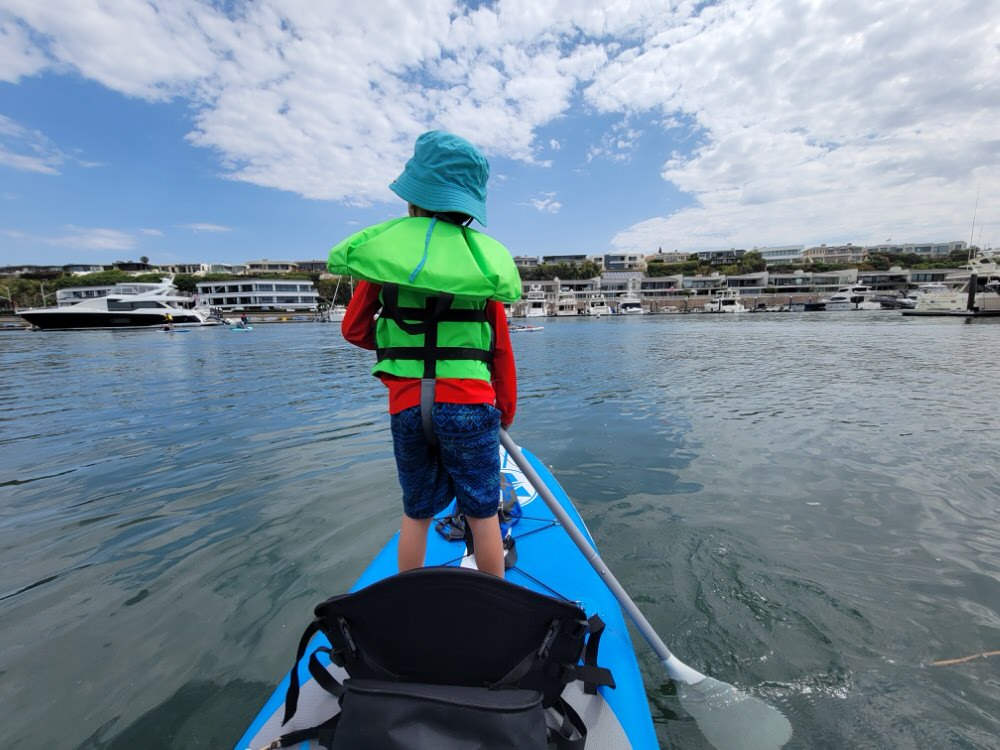
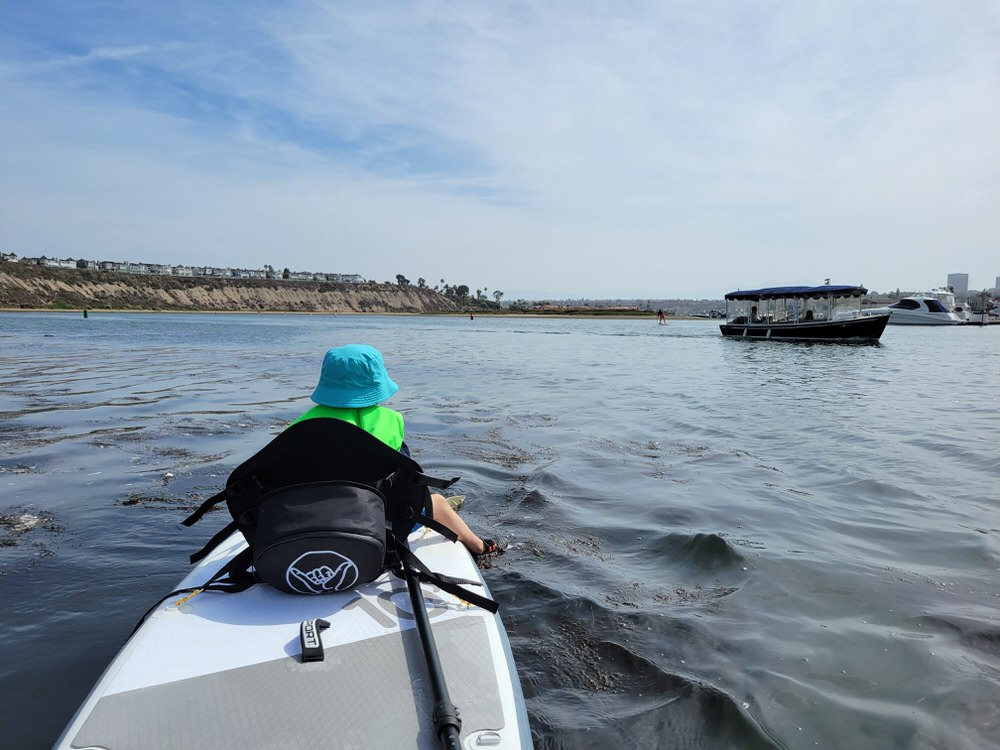
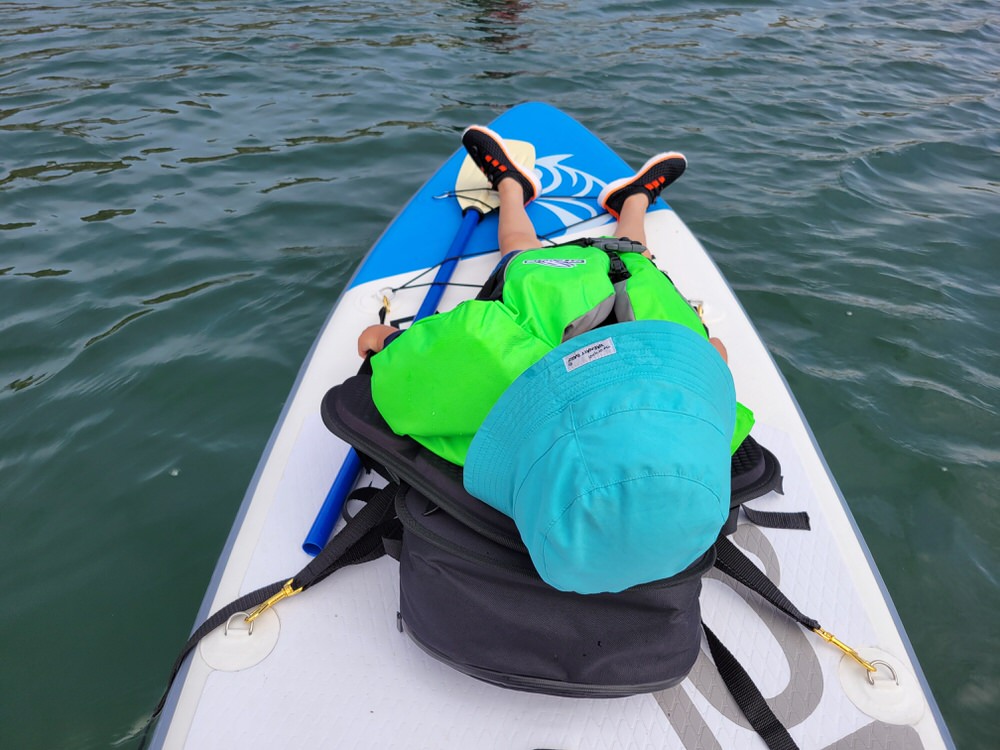
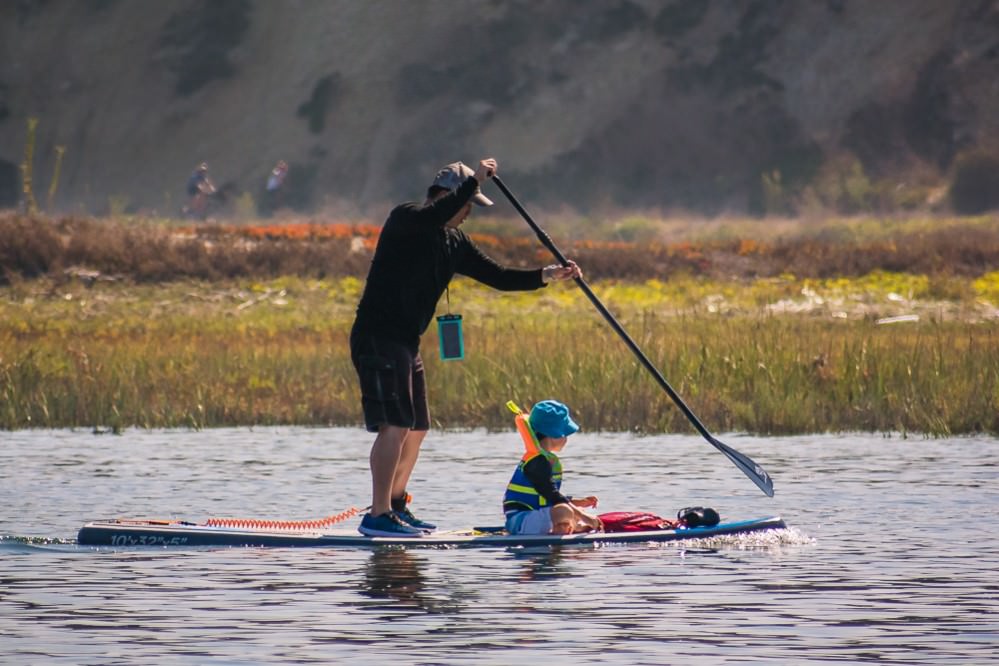
I was very pleased with the results. The D-Rings stayed on very securely and even looked like they were part of the original iSUP. My son thoroughly loved sitting in the South Bay Board kayak seat, napped comfortably a few times, and — an unexpected benefit — used the seat straps as a way to firmly hold himself onto the board. I asked him to always have both arms above the straps, however, in case the board flipped and got him trapped by the straps.


Add Bungee Deck
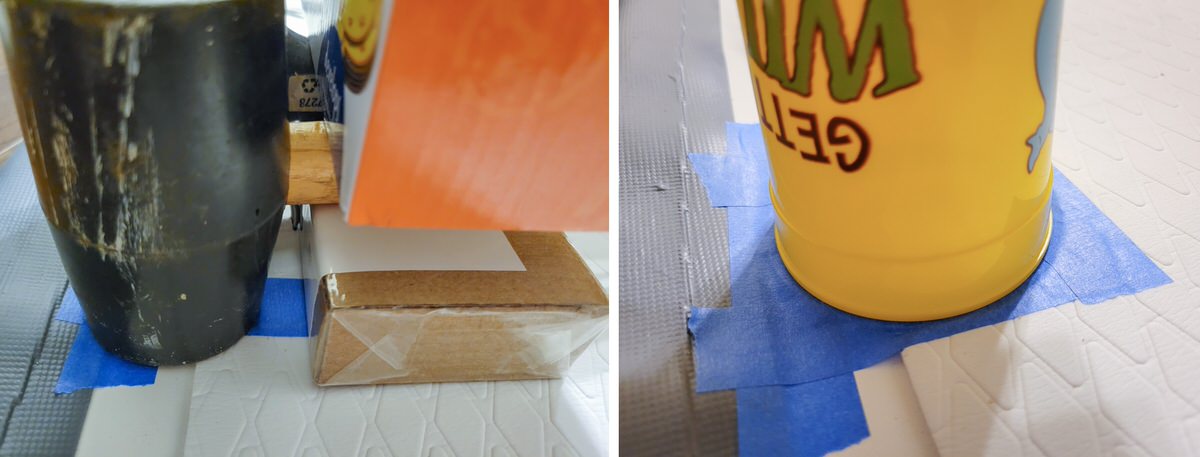
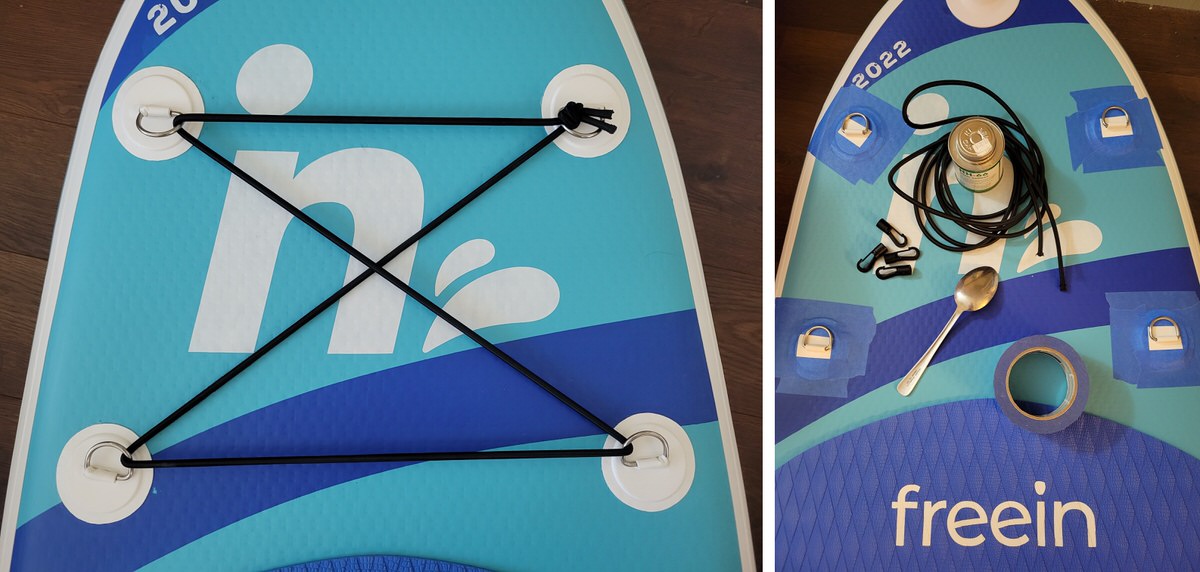
If your board is missing a bungee tie down at the front — which is extremely useful for securing shoes, a waterbag, and the paddle to — simply get a Bungee Deck Kit and add the four D-Rings. Be sure to have the rings point inward towards one another. If they face straight to the front or back, as shown in the Freein photo (below right), they will not be as sturdy as the DvSport picture (below left):
Kayak Accessories
Some kayak seats (like the South Bay Board) come with a storage zipper pocket attached to the back to store snacks, drinking water, windbreaker jacket, and other accessories. They usually can be removed and secured to the front bungee cords, too. The bag generally is water resistant (fine against splashes) but NOT waterproof (cannot be submerged) — so, keep that in mind if you plan on bringing things that cannot get wet. Other accessories to consider:
- Oceanbroad SUP/Kayak Paddle: Can be used as a SUP paddle and converts into a dual-bladed kayak one
- YYST Paddle Holder Clip: Helps keep paddles available alongside the board
- Dolibest Tow Rope: For more easily towing other boards
Paddle Boarding Basics & Tips
We urge you to learn the basics to minimize injury, get more enjoyment out of your iSUP, and be familiar with how to choose and maintain your board so it will last longer.
Must Read: Stand Up Paddle Boarding Basics & Tips – How to choose, prepare, maintain, and paddle Inflatable Boards (iSUP)
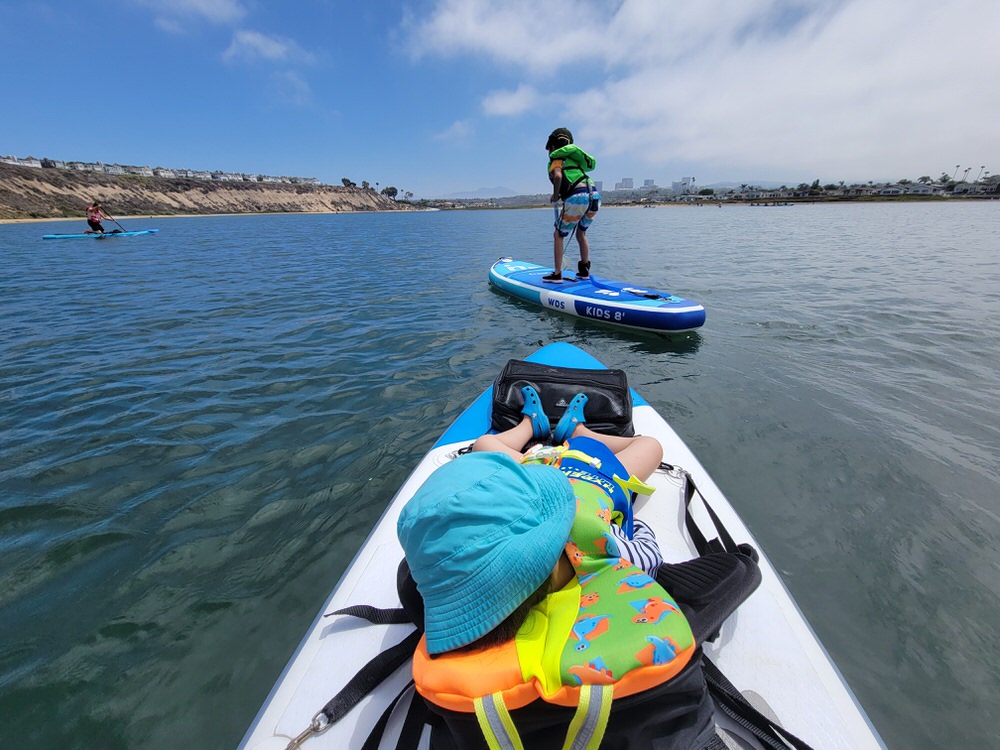
How To Safely Paddle with Kids
Parents have asked us: “How do you get your children comfortable with water and start paddle boarding?”
Guide: How to Safely Paddle Board with Kids – See our tips and tricks that worked for our family and friends.
Life Vests
Life Jackets are essential for your safety and can even be required by law. See our guide on Personal Flotation Devices (PFD): How To Choose A Life Vest For Kayaking, Paddle Boarding.
Where To Buy
- Material needed
- D-Ring Patches – 3.15″ (8cm) diameter
- Recommended: Tobwolf, MonkeyJack, Leipupa, Jing Kun
- Kayak Seat
- South Bay Board Seat / Seat Combo
- HH-66 Vinyl Cement or PVC Glue
- Be SURE you have enough glue available, especially if you apply multiple layers!
- Painter’s Tape | Utility knife
- Bungee Deck Kit to hold accessories and paddle
- D-Ring Patches – 3.15″ (8cm) diameter
- Accessories
- Electric iSUP Pumps
- Battery Built-In: Dr. Meter / Furein / BeWellAero (Heavy-duty and fast)
- 12V Cigarette Plug: Samengd / Vachan
- Garden Spray Hose for rinsing off
- Dolibest Tow Rope (to more easily tow another board without bungee effect)
- iSUP Safety Leash | Oceanbroad SUP/Kayak Paddle | YYST Paddle Holder Clip
- Electric iSUP Pumps
- Life Vests
- See our guide: How To Choose A Life Vest For Kayaking, Paddle Boarding
Related Posts
- How-To Guides:
- Stand Up Paddle Boarding Basics & Tips: How to choose, prepare, maintain, and paddle Inflatable Boards (iSUP)
- How To Safely Paddle Board with Kids
- How To Choose A Life Vest For Kayaking, Paddle Boarding
- Reviews: Inflatable Stand Up Paddle Board
- Freein Kids 8′ (2022): Made specifically for children and light adults
- DvSport Sunshine: One of my favorites. A bit more advanced, dual-layer iSUP
- Runwave Kohala: Less expensive, single layer iSUP board that many of my friends have recommended. It is a best-selling beginner board
- Runwave Lotus Flower: Very light, dual layer iSUP with a colorful, flower-inspired art design. It is a tad more stable than the Runwave Kohala
- Abysup SUP123: Dual layer, lighter iSUP that is slightly more advanced than the Runwave Kohala