
Contents
Optimizing Your WordPress Site
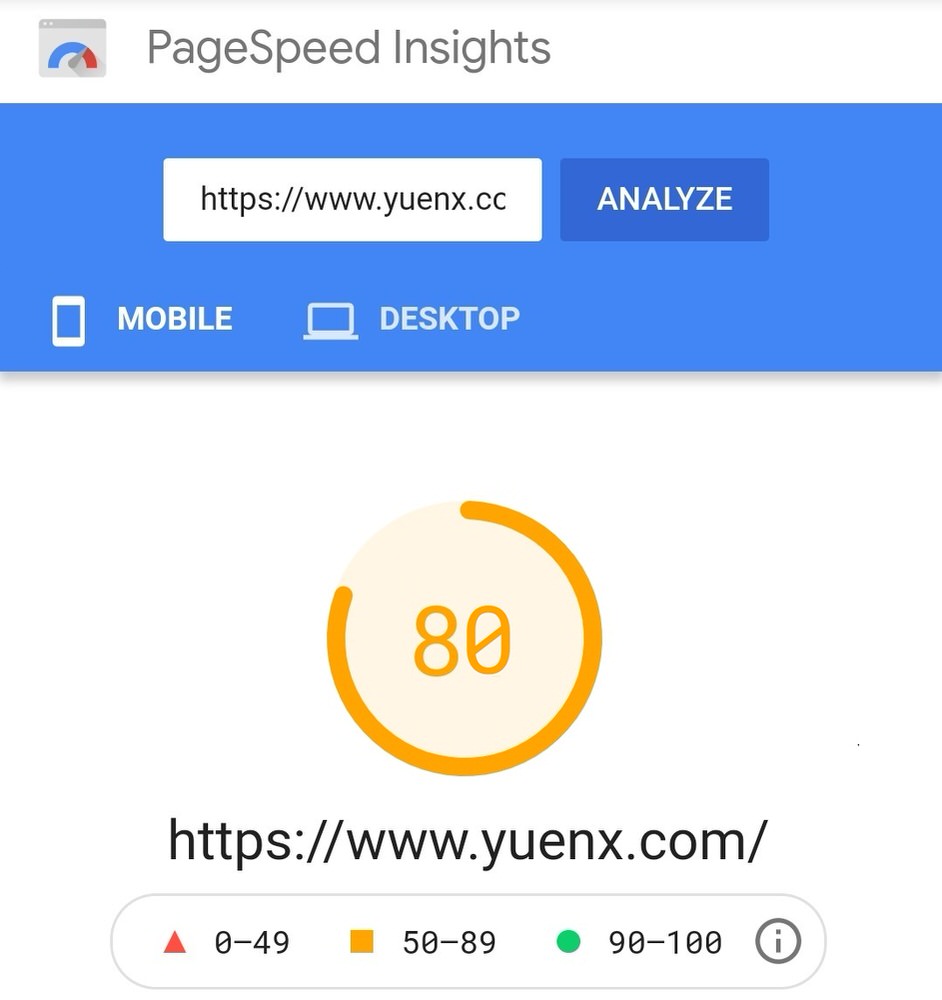
Your website’s performance is paramount in achieving better search engine ranking. Tools like Google’s PageSpeed Insights and Pingdom can help you identify areas for improvement, and one of them was multiple 80KB+ loaded for each of the FontAwesome fonts used by YuenX.com, including Regular, Solid, and Brands. This decreased the site’s performance a bit, scoring its Desktop browsing scores to just around 67. I worked through several optimization guides (like Kinsta’s and Avada’s own) to get this site to be as fast as possible with a theme as bloated as Avada 7.2 (it touts itself as being fast, but it actually loads unnecessary resources despite having them turned off).
Kinsta’s guide suggested creating your own custom font with just the icons you need so you could stop loading the three FontAwesome fonts. This could bring you a 200KB+ saving, going from 3 fonts to just one. In fact, the font I created for this site was only 9KB and — at the time this post was written — shot the Google PageSpeed scores for Desktop to as high as 98 (up from 67) on May 13, 2021 and a whopping 80 (up from 33) on June 18, 2021 for Mobile! Considering how bloated/slow a barebone Avada itself was, this was significant!

This site loaded slightly faster with just the select set of FontAwesome icons needed for the navigation menu, various Avada pages (such as the 404 Error one), and the wpDisquz plugin (Commenting system in use at the time of this writing.) Note: the Mobile score generally is lower than the Desktop version for many websites.
Using a custom font with just the icons you need can significantly speed up your website. Note: Other speed optimizations were applied to further enhance the scores, including merging/minification of JavaScript and CSS code, caching, and image compression. Putting Cloudflare in front of the site was also a significant enhancement in terms of speed, caching, and web application firewall protection (there are free and paid services).
Custom Icon Font and Classic Editor’s Vanished Icons
I ran into a VERY annoying issue, however, after implementing my custom FontAwesome replacement with Avada 7.2.
When you add a Custom Icon Set (see Avada’s instructions), the Classic Editor (or Advanced Editor Tools/TinyMCE Advanced) toolbar buttons suddenly no longer had visible icons. They disappeared! Mouse over each of them, and the tooltip pop up would tell you what the button is. I found each to still work — just that they had no icon face over them, as shown below:
Toolbar buttons’ icons disappeared
The toolbar should look like this:
Toolbar buttons’ icons visible
Only the Classic Editor is affected and not the Avada Builder.
Maybe the problem is entirely a fault of my own. After all, I was trying to create a custom, lean font that would contain a selection of FontAwesome’s icons (used by plugins like wpDisquz) without having the official, bloated FA fonts loaded. Regardless, 3 days after frustratingly troubleshooting Plugins, Avada Options, Avada Builder Element Options, clearing caches, and scouring the web for answers, an idea popped into my head to try something. It worked!
Maybe the problem is entirely a fault of my own.
This post will show you how I got my Custom Font to work while keeping the Classic Editor’s toolbar icons visible.
How to Create a Custom Font
Let’s first go over the steps I took to create and implement my own icon font.
- Grab a copy of the SVG files of the FontAwesome fonts
- Avada stored them at: /wp-content/themes/Avada/includes/lib/assets/fonts
- Head over to the icomoon.io App
- On the “Generate SVG” tab, click on “Selection” tab found at the bottom
- On the “Selection” tab, click on “Import Icons”
- I imported the fa-brands-400.svg, fa-regular-400, fa-solid-900 SVG files obtained from the Avada theme
- You could also get the fonts from FontAwesome.com
- All three files are used by the wpDisquz plugin, and I mostly use the Solid one for the site’s navigation menus. Avada uses some for its “404 Not Found” error page to display a checklist of “Helpful Links”
- Select the icons you want to build your font with
- I imported the fa-brands-400.svg, fa-regular-400, fa-solid-900 SVG files obtained from the Avada theme
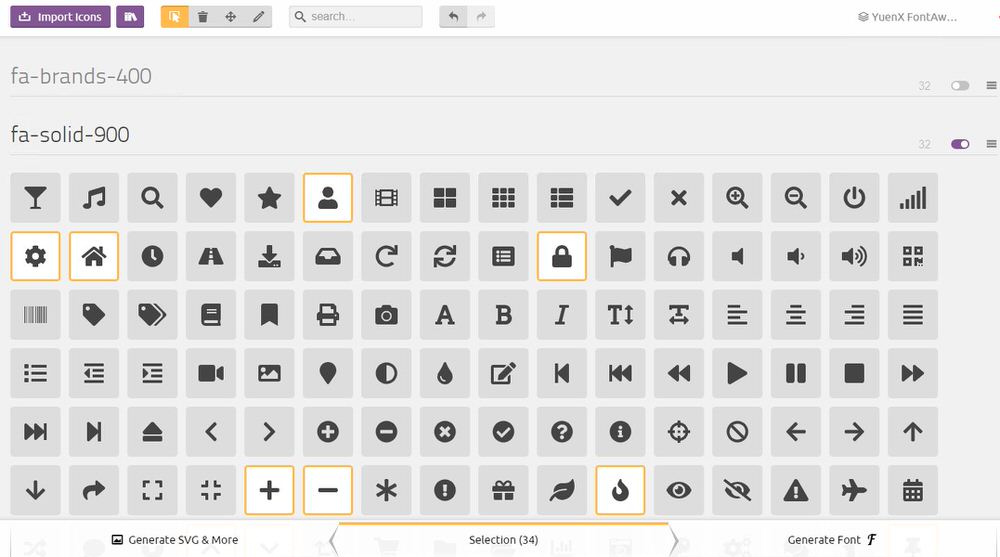
Icon Selection
-
- Once the icons have been chosen, click on “Generate Font” tab
- Click “Preferences”
- Give your new font a name (ie. “YuenX-FA“)
- Provide Prefix: “fa-” (so the new icons can be referenced by wpDisquz as FontAwesome’s without a code change. FA uses the “fa-” prefix.)
- CSS Selector: select “Use i (for selecting <i>)”
- FontAwesome uses <i> (not Classes) to reference its icons
- Click “Preferences”
- Once the icons have been chosen, click on “Generate Font” tab
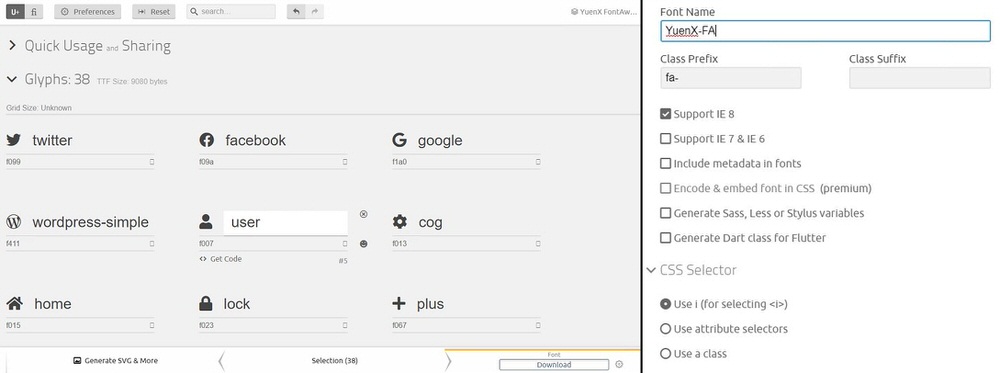
Selected Icons and Download Preferences
-
- Download the resulting .zip file
- You may now use your custom font on your website by unzipping it to a folder of your choice (example: /public_html/fonts/MyCustomFont/) and adding the following code between the <HEAD></HEAD> section:
<link rel="stylesheet" href="/public_html/fonts/MyCustomFont/style.css">
-
- This loads the style.css file that references the .eot/.ttf/.woff/.svg fonts generated by IcoMoon
- You can insert the icons to your page with: <i class=”prefix–iconname“></i>
This is <i class="fa-home"></i> Home.
You should see an icon before the word, “Home” (on a Desktop computer browser — it may not show if you are reading this from a mobile device): “This is Home.” See other FontAwesome examples.
Using Custom Font with Avada Theme
Avada supports custom fonts for use with its Avada Builder Elements and the Avada Options for individual Menu items. Follow the theme’s official guide on how to upload the IcoMoon-generated font. If successful, you will be presented with a screen like the below:
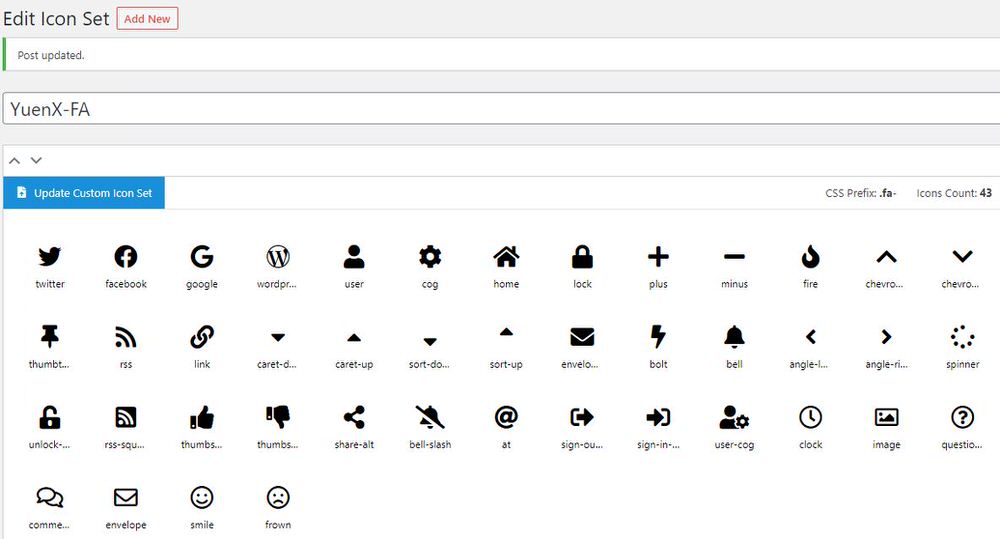
YuenX Custom Icon Font
The theme will store your front in two places:
- Media Library
- /wp-content/uploads/fusion-icons/
For example, if you named your file as “MyCustomFont.zip”, you would find that in the Media Library and unzipped as: /wp-content/uploads/fusion-icons/MyCustomFont.
Deleting the Custom Icon Set from Avada will NOT remove the files from the Media Library or the aforementioned folder. Be sure to clean up those locations as needed for good housekeeping.
Preload Font
For optimization, you may want to preload the font within the <HEAD></HEAD> section by going to Avada > Global Options > Advanced > Space before </head>, and adding:
<link rel="preload" type="font/woff" href="/wp-content/uploads/fusion-icons/MyCustomFont/fonts/MyCustomFont.woff" as="font" crossorigin="anonymous">
I decided to only preload and use the .woff file as it already is supported by the majority of modern browsers. This was done by editing the style.css file and taking out all references under “src:” for the .ttf/.eot/.svg files.
Workaround For Disappearing Icons
As soon as you create your Custom Icon Set from within the Avada > Icons page, you will find the Classic Editor toolbar having its icons become invisible even though the buttons are still fully functional. I wanted to be able to restore icon visibility while still being able to use my trimmed-down version of the FontAwesome images needed for this site. Having to choose between a fully functional editing toolbar or slowing down the website with loading 3 bloated fonts was not an option.
I worked around the choice with the following steps:
- Create the Custom Font with IcoMoon as previously described
- Upload the font to Avada as a new Custom Icon Set
- Assign the icons to your Avada Builder Elements or Navigation Menus (like how I inserted the Home icon at the top, if you are browsing from a desktop computer — they will not show on mobile devices)
- Go to Avada > Global Options > Advanced > Space before </head>, and add:
<link rel="stylesheet" href="/wp-content/uploads/fusion-icons/MyCustomFont/style.css">
<link rel="preload" type="font/woff" href="/wp-content/uploads/fusion-icons/MyCustomFont/fonts/MyCustomFont.woff" as="font" crossorigin="anonymous">
-
- The “stylesheet” reference will tell the browser where to find your custom font. We are also preloading (“preload”) the WOFF file

Avada Advanced Code Fields
- Once done, delete the Custom Icon Set from your Avada
- Be sure to remove the .zip file from the Media Library
- You should now be able to see the icons on the Classic Editor toolbar again while still having the custom icons show up for the navigation menu and wherever else you had them used
Problem With The Workaround
The biggest downside to my solution is that you will no longer be able to change or use any of the custom icons (from your Custom Icon Set) within Avada without adding the file back to Avada as a Custom Icon Set. I hope that Avada will find a solution to this issue.
If you have another solution, please let my readers and I know by leaving a Comment!
Additional Optimization
To minimize the number of calls made to load individual .CSS files, I took these additional steps:
- Copied the content of the custom font’s style.css into Avada’s Global Options > Custom CSS section
- Updated the “src: url(‘fonts/” line with the absolute path of where the font is located (ie. “src: url(‘/wp-content/uploads/fusion-icons/MyCustomFont/fonts/MyCustomFont.woff’) format(‘woff’);”
- Removed or commented out the ‘link rel=”stylesheet”‘ reference from Global Options > Advanced > Code Fields > “Space before </head>”
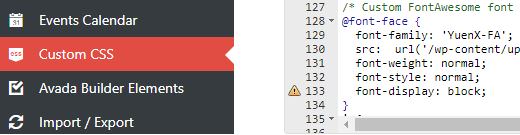
Avada Custom CSS
One less file to load could save a few milliseconds of processing time, especially since I was already using Avada’s Custom CSS feature.
Still Cannot See Your Custom Font?
If you still cannot see your custom font, you may need to edit the .htaccess file (if you are on an Apache host), reset the Avada Fusion Cache (Avada > Global Options > Performance > “Reset Avada Caches”), any Page/Minify caches, and your browser’s local cache (it may be using an older copy of your custom font temporarily stored locally).